
Plans and billing
QueryGuard has four plans, and everything about the subscription — plan changes, payment method, invoices, cancellation — lives on the Billing page.
Overview
Plans differ in two limits: how many Google Ads accounts you can connect, and how many keyword files you can upload.
| Plan | Connected Google Ads accounts | Keyword files |
|---|---|---|
| Starter (free) | None | Up to 10 |
| In House | 1 | Unlimited |
| Pro | Up to 10 | Unlimited |
| Enterprise | Unlimited | Unlimited |
The limits apply going forward, not retroactively — on Starter, workspaces and accounts you already have stay on the Dashboard and remain fully viewable.
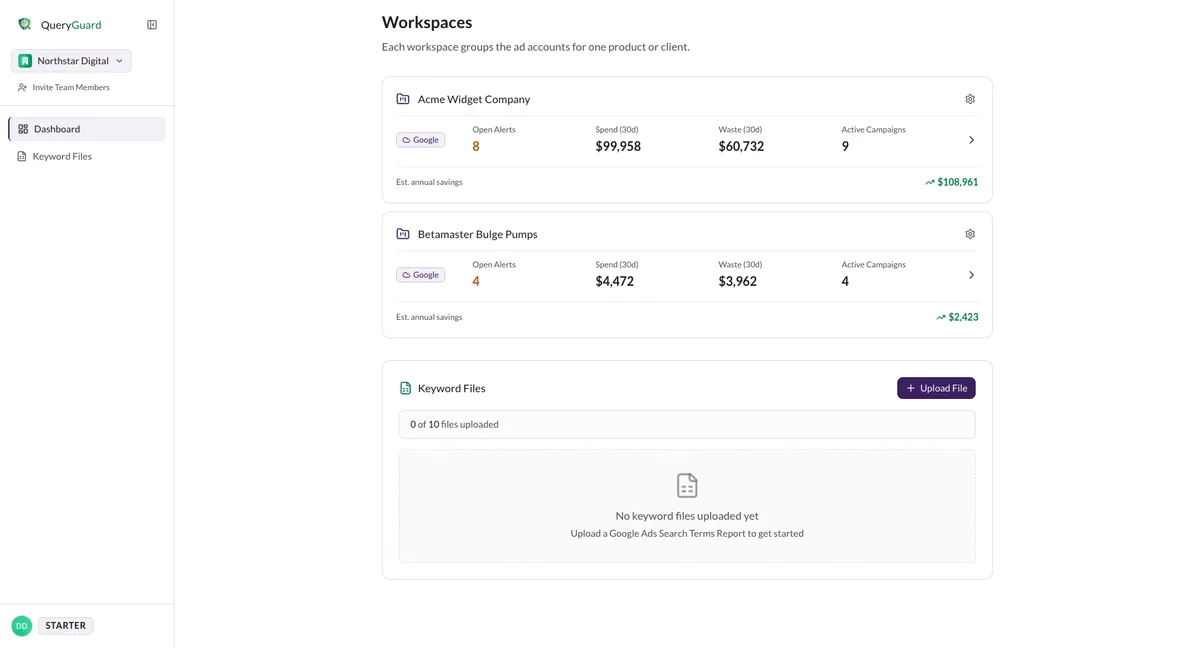
Your current plan shows as a badge at the bottom of the sidebar.
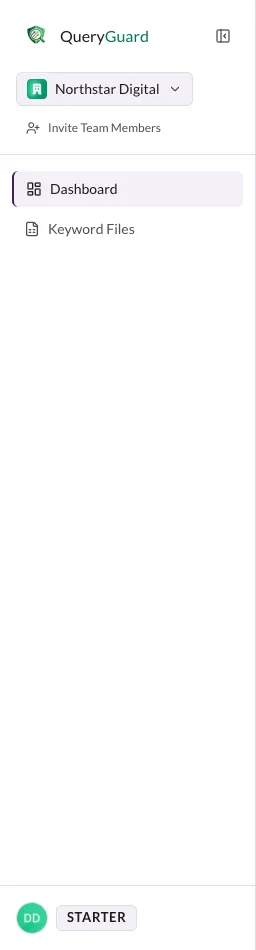
On Starter, the Keyword Files card on the Dashboard tracks the cap — it shows how many of your 10 uploads you've used.
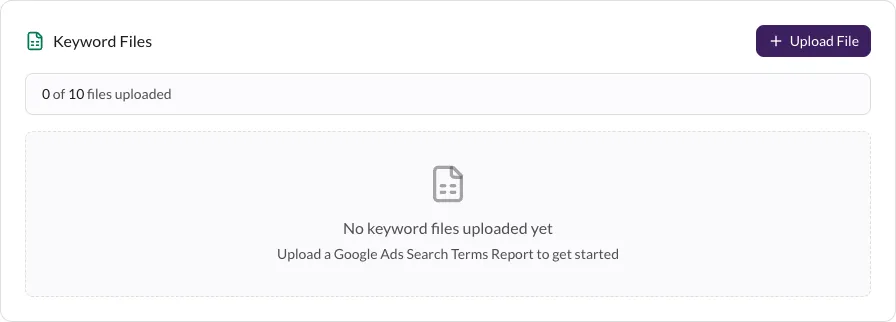
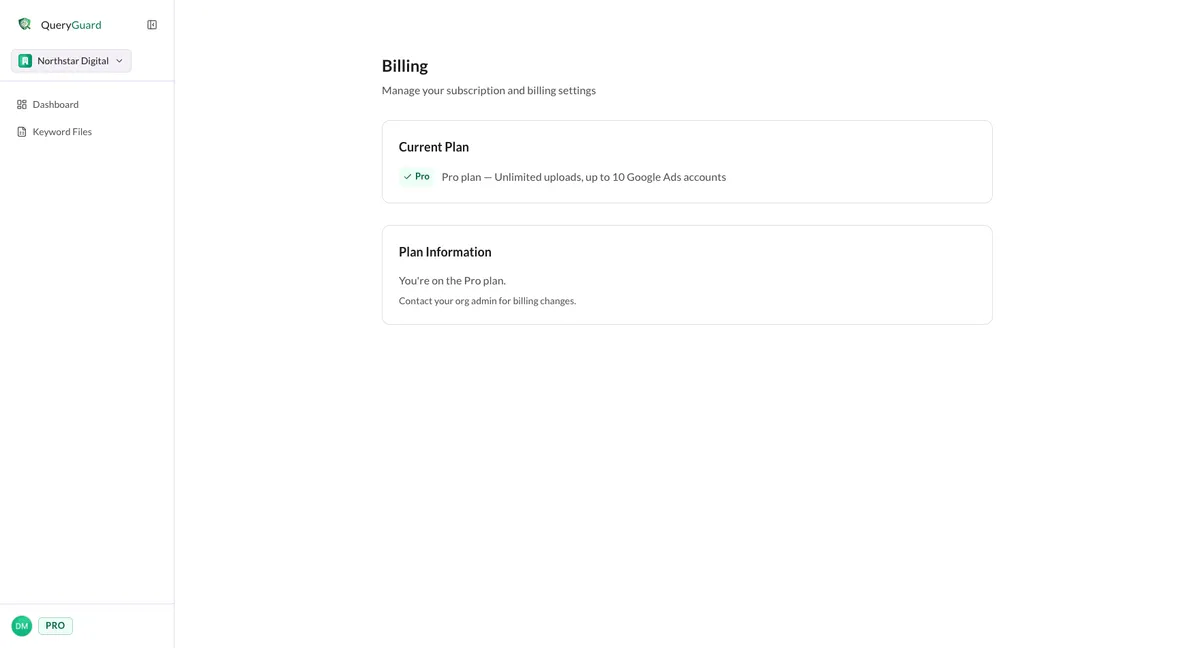
The full picture is on the Billing page: open the account menu at the bottom of the sidebar and choose Billing. There is no settings entry in the sidebar itself. Everyone in the organization can open the page, but only org admins can act on it — members see the plan they're on and a pointer to contact their admin.
Direct link: Billing
Quick Tips
- Starter is for keyword-file analysis — connecting a Google Ads account needs a paid plan. See Connect Google Ads once you're on one.
- At the file cap, Upload File becomes Upgrade to Add More and the cap bar gains an Upgrade for unlimited link.
- Only admins see Manage Billing and the upgrade buttons — members get a note to contact their admin instead.
- A failed payment doesn't cut access: your plan stays active while the payment is retried.
- Enterprise isn't self-serve — it's arranged with the sales team.
Steps
1. Open the Billing page
Open the account menu (your avatar at the bottom of the sidebar) and choose Billing.
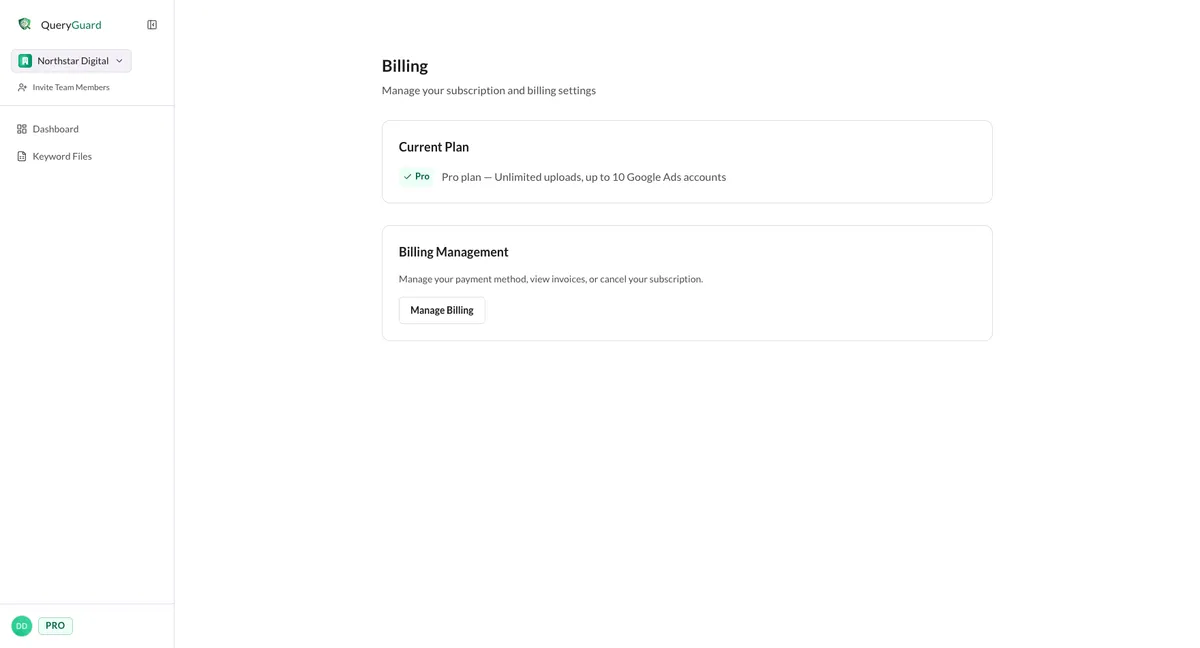
The Current Plan card names the plan and summarizes its limits — for example, "Pro plan — Unlimited uploads, up to 10 Google Ads accounts".
2. Manage the subscription
On a paid plan, admins also get the Billing Management card. Choose Manage Billing to open the Stripe billing portal — our payment provider's self-service page — where you can:
- update the payment method on file
- view and download invoices
- cancel the subscription
Leaving the portal returns you to the Billing page.
3. Upgrade from Starter
On Starter, the Current Plan card reads "Starter plan — Up to 10 CSV uploads, no Google Ads connections", and the page shows the plan grid in place of Billing Management.

Under Simple, transparent pricing, pick Monthly or Yearly — Yearly is preselected and carries a Save 21% badge — then choose Upgrade to In House or Upgrade to Pro to open checkout and enter payment details.
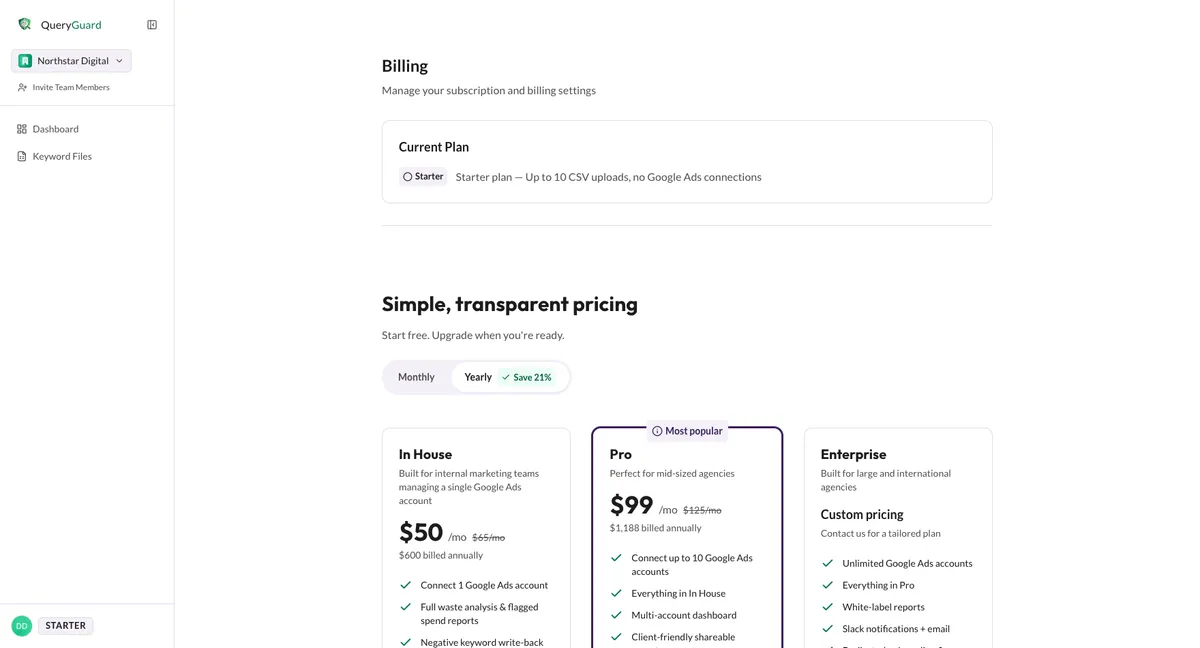
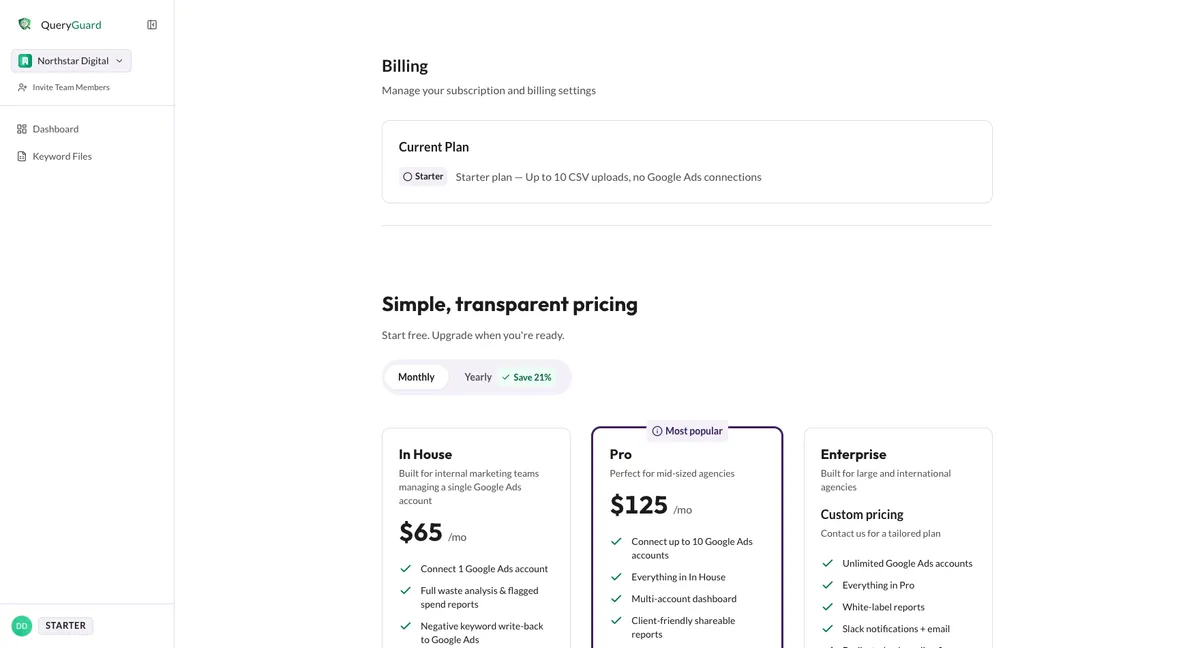
Members see the same grid, but the upgrade buttons are disabled with Contact your admin to upgrade underneath.
A brand-new organization on Starter also gets a Stop wasting ad spend — automatically panel on the Dashboard; its Upgrade to Pro button leads to the same page.
4. Enterprise
Enterprise has no checkout — the card shows Custom pricing and a Contact us button that emails sales@queryguard.io. Use it for unlimited connected accounts and tailored terms.
If a payment fails
When a subscription payment fails, a banner appears at the top of the Dashboard and the Billing page. Your plan stays active — QueryGuard never downgrades you automatically — but the card on file needs fixing.
- Your last payment failed — an amber banner while retries are still running: "We could not charge your card for the latest invoice. We will retry automatically."
- Payment failed and retries are exhausted — a red banner once every retry has failed: "We could not collect your latest invoice after several attempts."
Admins get an Update payment method button on the banner that opens the billing portal. Members see the same banner with "Ask your organization admin to update the payment method."